
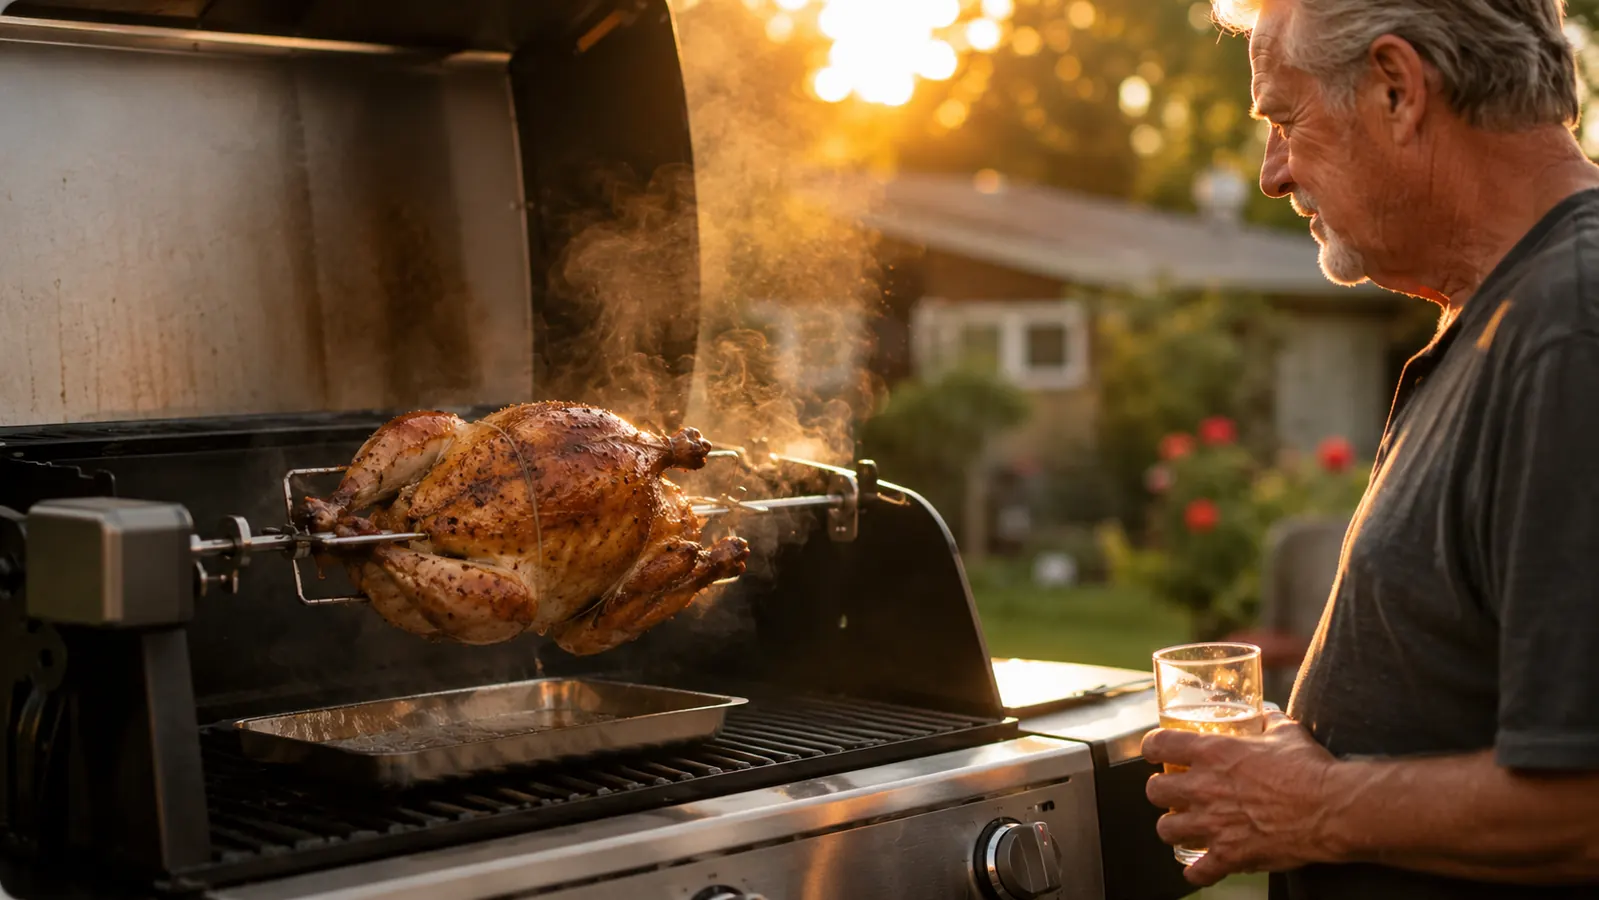
Every rotisserie chicken I ever bought from the grocery store tasted the same: fine, but forgettable. Dry near the breast, rubbery skin, and that shrink-wrapped steam smell that never really goes away. I used to tell myself that spit-roasted chicken required equipment I didn't have room for, so I settled for the deli bird every few weeks and figured that was as good as it gets.
My first attempt at doing it myself was a disaster, honestly. I duct-taped a broom handle through a chicken over the coals in my old kettle grill, out of pure stubbornness, and ended up with one side charred and the other side pink near the bone. Bonnie still brings it up. It wasn't the idea that was wrong, it was the setup, and I didn't have the right one yet.
That changed the day my buddy Hank badgered me into trying the Dyna-Glo Universal Deluxe Rotisserie Kit on my three-burner gas grill. I figured it would be another gadget that lived in the garage after two uses. Six months and probably forty chickens later, it's the single piece of gear that gets the most use out of anything I own, more than my chimney starter, more than my grill brush. If you've got a standard gas grill with room for a rotisserie burner, or you're willing to run it off the main burners like I do, here's exactly how I get a whole chicken onto that spit and off the grill with crackling skin and juice running clear every single time.
Get the Rotisserie Kit That Turned Sunday Dinner Into an Event
The Dyna-Glo Universal Deluxe Rotisserie Kit fits most standard gas grills and comes with the spit rod, forks, and a counterbalance so the motor doesn't strain on a lopsided bird. Check today's price on Amazon before you fire up the grill this weekend.
Amazon Check Today's Price on Amazon →Step 1: Pick and Prep Your Bird
I look for a chicken between 4.5 and 5.5 pounds. Anything bigger than 6 pounds pushes the limits of most rotisserie motors, including the one on the Dyna-Glo kit, and it also cooks unevenly because the legs finish long before the breast catches up. A standard grocery store roaster in that 5-pound range is the sweet spot.
Pull the giblets out of the cavity, pat the whole bird dry with paper towels inside and out, and let it sit uncovered in the fridge for at least 2 hours, longer if you have the time. Bonnie thinks I'm ridiculous for doing this, but a dry skin surface is the difference between shatter-crisp skin and skin that just sits there rubbery. Moisture is the enemy of crispy skin on a rotisserie.
Once it's dry, season generously inside the cavity and all over the skin. I use a simple mix of kosher salt, black pepper, garlic powder, and paprika. Get some of that seasoning under the skin over the breast if you can work your fingers in there without tearing it.
If I've got the day for it, I'll do a simple dry brine instead: salt the bird the night before and leave it uncovered in the fridge overnight. It does the same job as the 2-hour dry-down but pulls more seasoning into the meat itself, not just the surface. Either way works, the dry brine just gives a slightly deeper flavor if you're planning ahead for a Sunday dinner instead of a same-day cook.
Step 2: Truss the Chicken So It Rides Straight
A rotisserie only works right if the bird spins on-center. If one leg is flopping loose and the wings are flapping around, you get uneven cooking and a motor that strains against the imbalance. Trussing solves both problems.
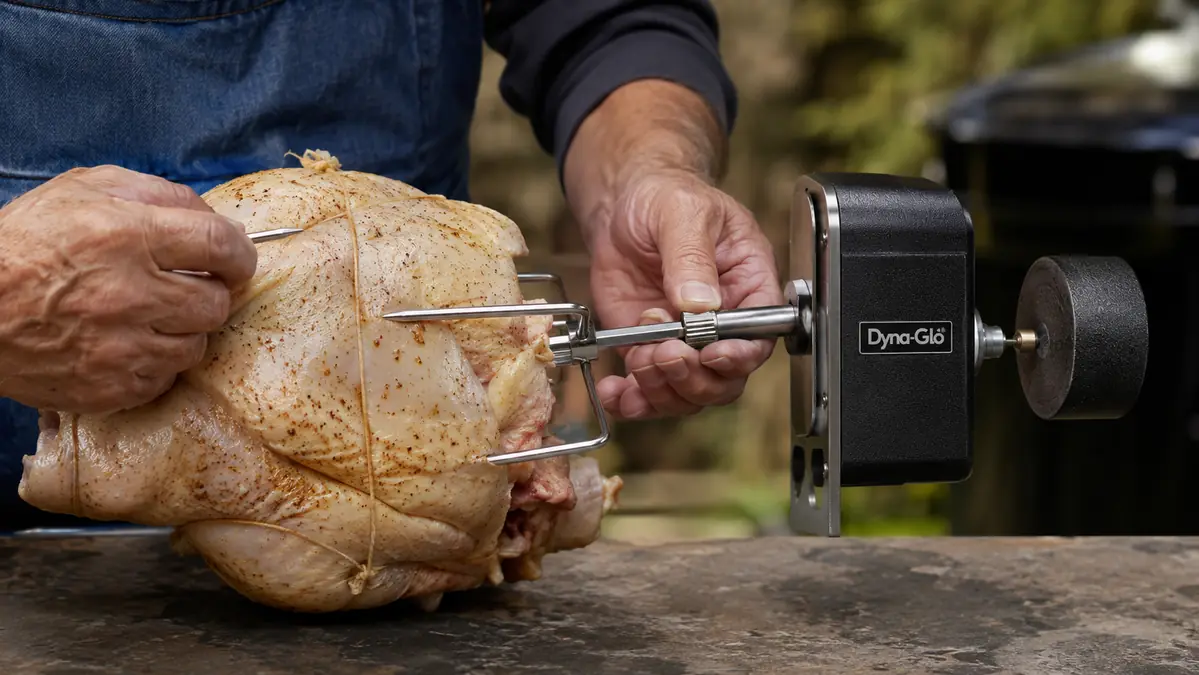
Cross the legs and tie them together tightly at the ankles with butcher's twine, then bring the twine up and around to cinch the wings against the body. I tuck the wing tips behind the shoulders so they don't burn off before the rest of the bird is done, a mistake I made on my second attempt and haven't repeated since.
Test the trussing by pressing down on the breast and the legs. If anything shifts or flops, retie it. A loose bird on the spit is the number one reason people give up on rotisserie cooking after one bad run.
Stick to actual cotton butcher's twine, not the plastic kitchen twine some grocery stores sell near the meat counter. I learned that one the hard way when a cheap synthetic string started to melt at the grate about 20 minutes into a cook. It didn't ruin the chicken, but it scared me enough that I now keep a dedicated roll of cotton twine in the drawer next to my grill tools and nowhere else.
Step 3: Mount It on the Dyna-Glo Spit
Slide the counterweight fork onto the spit rod first, then run the rod through the cavity of the bird lengthwise, from the neck opening through the tail end. Center the chicken as close to the middle of the rod as you can.
Push the second fork in from the other end and press both forks' tines firmly into the meat, then tighten the wing nuts. The Dyna-Glo kit's forks have decent bite, but I still double check that they're seated deep enough that the bird won't spin loose on the rod once the motor kicks on.
Here's the step people skip: the balance test. Hold the loaded spit rod by the pointed ends and let it rotate freely in your hands. If one side dips every time, the counterweight is off. Slide the counterweight fork toward the heavier side until it spins level. An unbalanced bird will grind the motor and can eventually burn it out.
Before you carry the whole assembly out to the grill, do a quick clearance check. Set the spit rod across the grill's rotisserie brackets without the motor attached and give the chicken a slow spin by hand. It needs to clear the grates on the bottom and the lid on top with a little room to spare, or it'll drag and scorch on one side every rotation. If it's tight, raise the cooking grate or lower the bracket height if your grill allows it.
Step 4: Set Up Your Gas Grill for Indirect Heat
On my three-burner grill, I light the two outer burners and leave the middle burner off, creating an indirect heat zone right where the chicken will spin. If you've got a dedicated rear rotisserie burner, use that instead and turn off the main burners entirely.
Preheat to about 350 to 375 degrees Fahrenheit measured at grate level, not the lid thermometer, which usually runs hot by 25 to 50 degrees on most grills I've owned. Place a drip pan directly under where the chicken will rotate, with a little water or apple juice in it. That pan does double duty: it catches fat so you don't get flare-ups, and the steam keeps the cooking environment from drying out.
Mount the spit rod into the Dyna-Glo motor bracket, close the lid, and turn the motor on before you walk away. Listen for it. A steady, even rotation means you balanced it correctly in step 3. If you hear the motor laboring or see it stutter, stop and rebalance before you commit to a 90-minute cook.
Check your propane level before you start, too. A 90-minute indirect cook uses more fuel than a quick sear, and running out at the 60-minute mark with a half-cooked chicken on the spit is a real problem I've walked into once. I keep a spare tank in the garage now specifically for rotisserie nights.
Keep the lid down as much as possible, but if it's a windy evening, expect the grate temperature to swing more than usual, and check it a little more often than you would on a calm night. I've got a spot on the patio where the wind cuts around the side of the house, and on those evenings I'll nudge one of the lit burners up slightly to hold steady in that 350 to 375 degree range instead of drifting down toward 300.
Step 5: Cook, Baste, and Check for Doneness
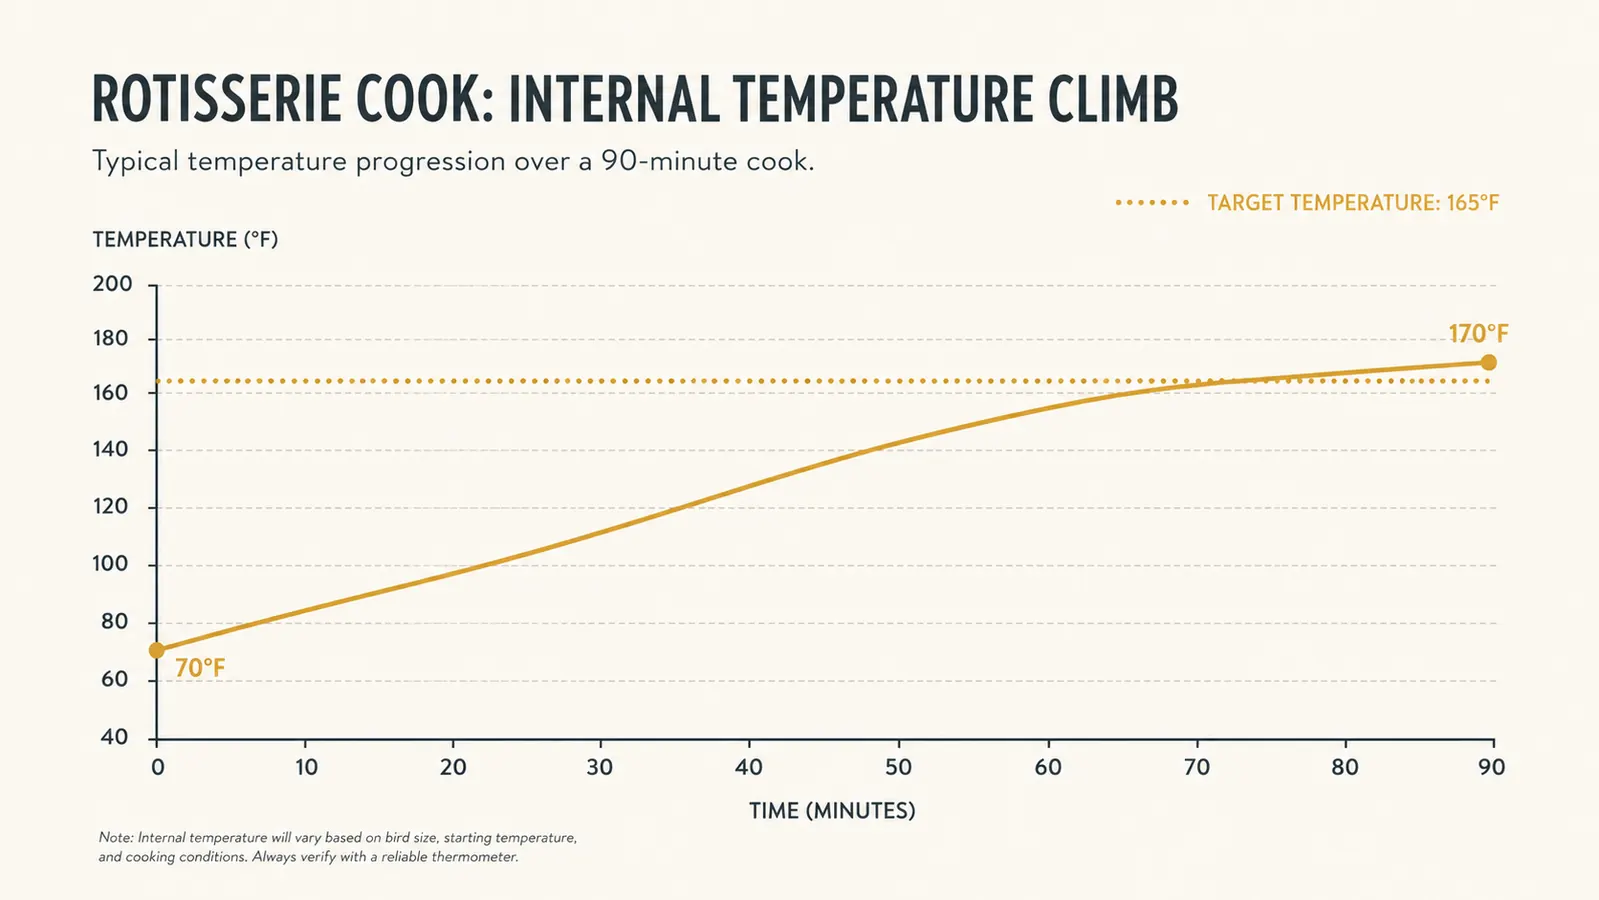
A 5-pound chicken takes roughly 75 to 90 minutes at 350 to 375 degrees. Resist the urge to lift the lid every 10 minutes. Every time you open it, you lose heat and add 5 to 10 minutes to your cook time.
At the 45-minute mark, I brush on a light baste, melted butter with a little more of the same seasoning I used at the start. The self-basting motion of the rotisserie is already doing most of the work, this extra pass just builds a deeper crust.
Start checking internal temperature around the 70-minute mark with an instant-read thermometer in the thickest part of the thigh, avoiding the bone. Pull it at 165 degrees. Let it rest on the spit rod or on a cutting board, tented loosely with foil, for at least 10 minutes before you carve. That rest is what keeps the juice in the meat instead of on your cutting board.
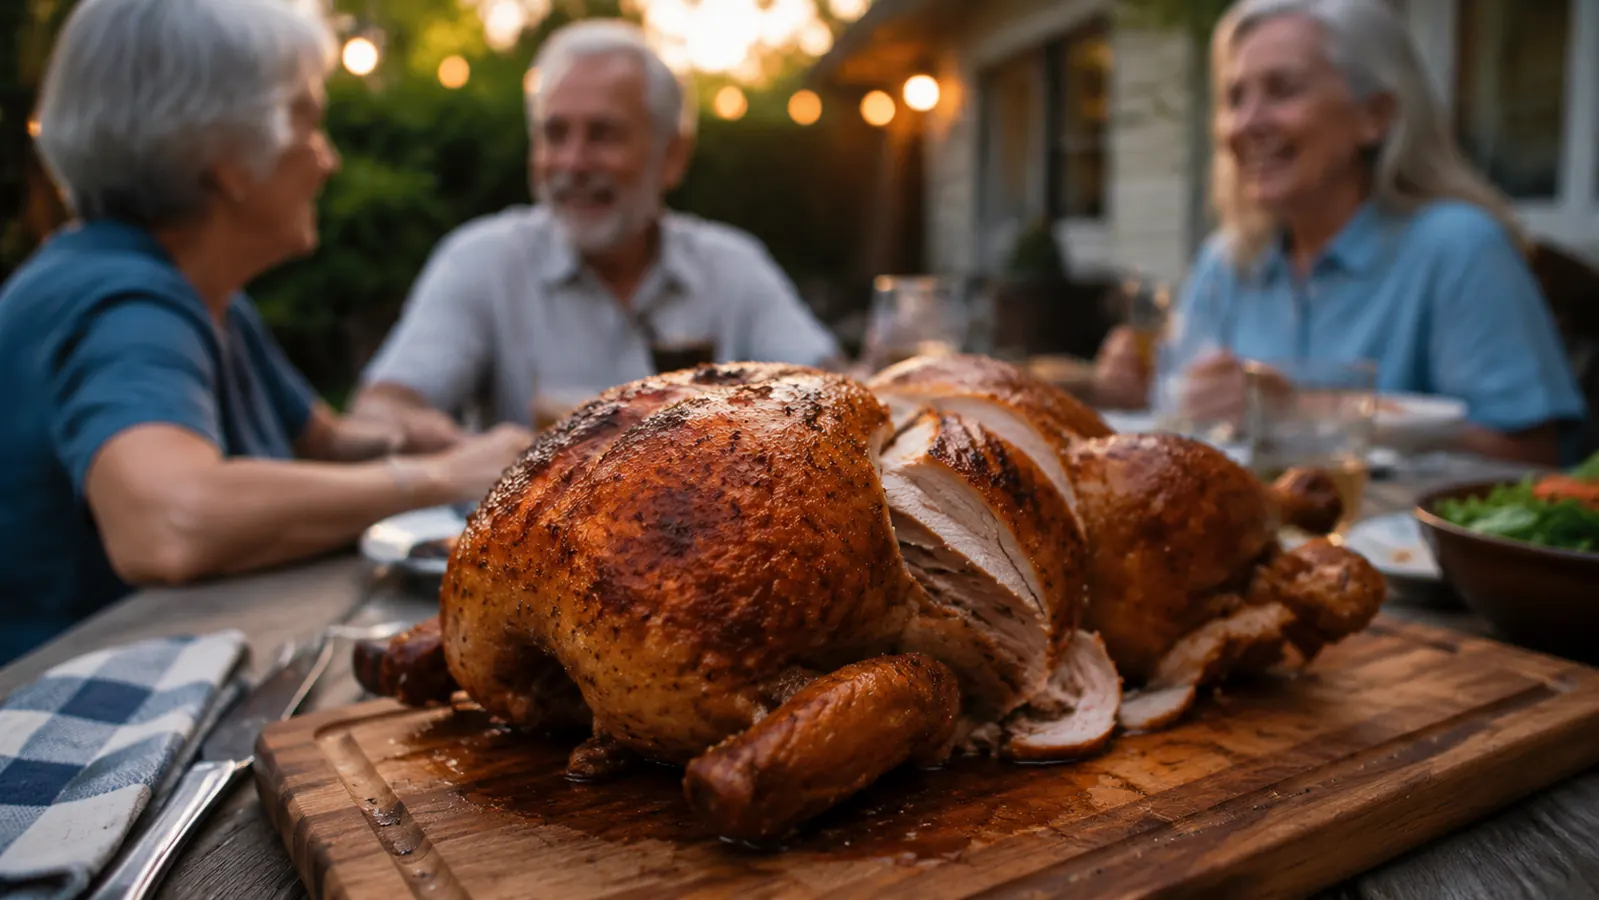
When you do carve, cut the twine off first and pull the spit rod and forks free before you break the bird down. Trying to carve around the hardware just tears up the skin you worked to keep crisp. Carve breast and thigh separately, and carve close to serving time, since even a great rotisserie chicken loses some of that skin crackle if it sits too long before it hits the table.
What Else Helps
A couple of small things make this easier every time. I keep a cheap oven mitt rated for high heat by the grill just for handling the hot spit rod and forks, since the standard grill glove doesn't always cover enough of my forearm. I also run the drip pan through the dishwasher instead of scrubbing it by hand, since rendered chicken fat hardens fast and turns cleanup into a chore if you wait.
And if you're cooking after the sun goes down, which happens more often than I'd like to admit once Travis and the grandkids show up late from a soccer game, a clip-on grill light saves you from guessing at doneness by porch light alone. I also keep a second, cheap instant-read thermometer around, since the first one Owen borrowed for a science project never quite made it back to the grill drawer.
Once you've got this method down on a whole chicken, the same rotisserie kit handles a boneless pork loin or a small prime rib the same way, just adjust your target internal temperature for the cut. I've done a pork loin for Bonnie's side of the family at Thanksgiving two years running now, using the exact same trussing and balance-check steps from above, just with a shorter cook time since the loin is smaller than a whole bird.
The first time the skin actually shattered when Owen bit into a drumstick, I knew I wasn't going back to deli chicken.
Ready to Retire the Grocery Store Rotisserie Chicken?
The Dyna-Glo Universal Deluxe Rotisserie Kit is the same setup I've used for six months of Sunday dinners. It mounts on most standard gas grills and comes with everything in this guide: spit rod, forks, counterweight, and motor bracket. Check today's price on Amazon and give it a try this weekend.
Amazon Check Today's Price on Amazon →